I just bought the Amazon Affiliate for WordPress Plugin so that I could do the following:
- Add prices, review data, and product images to my affiliate posts via Amazon's API, which is the only way Amazon Associates are allowed to display those things on their site.
- Create nice looking product comparison tables and product listing boxes.
- Quickly add Amazon products to posts. I have affiliate links now and comparison tables, but this plugin should speed up my process and eliminate the time that I normally spend manually formatting product boxes and tables with HTML and CSS.
I wrote about what attracted me to AAWP here in a previous post about what led me to a purchase decision after much time spent researching similar plugins and software.
Now I'll document my setup process so you can see if this is something you'd be interested in doing as well.
Step #1) Purchase the plugin.
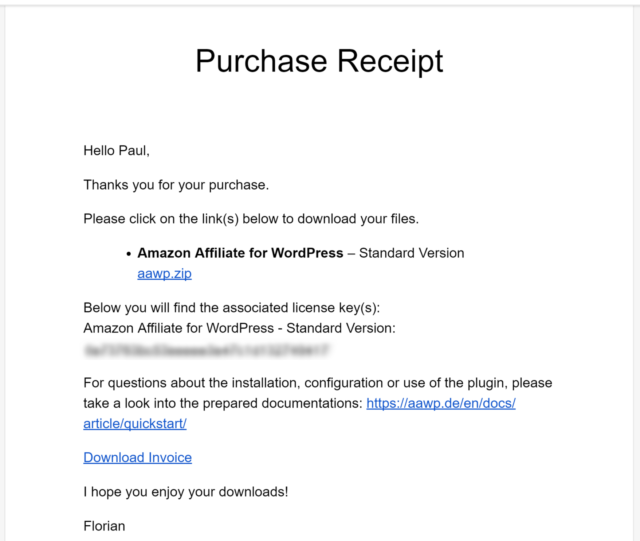
For now, I just bought the single license version for €39 which converts to $46.07 at the time I bought it, which is Sep 2017. I will most likely upgrade to the Developer version so that I can use it on multiple sites, but I can upgrade later. I wanted to test it on one site first. After purchase, I received an e-mail receipt with a link to download the ZIP file and my license key.
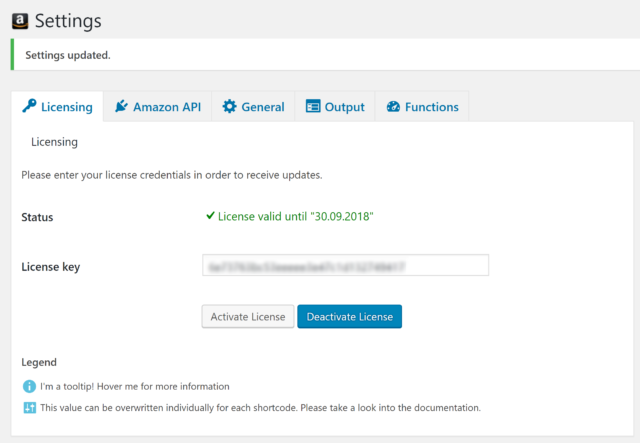
Step #2) Upload plugin, activate, and enter license key
This is pretty self explanatory if you've ever installed a WordPress plugin before.
Step #3) Get / enter an API Key from Amazon to use with my plugin
To get an API key, I need an account with Amazon Web Services, which I don't have. So I need to create one now.
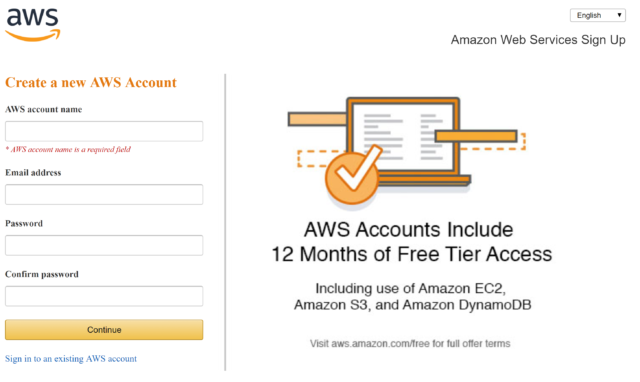
The above is a four step process starting with the screen you see, then you're prompted to enter your CC info, then they call your telephone number to verify your account, and lastly you choose your support plan. I went with the Basic (free) plan because I'm pretty sure I can handle getting an API key.
Lastly, I create my API key after logging into my console. Here are detailed instructions on how to do that if you need them.
Next I login to my Associates Account and go to Tools –> Product Advertising API to connect my API key to my Associates account, and now I'm good to go.
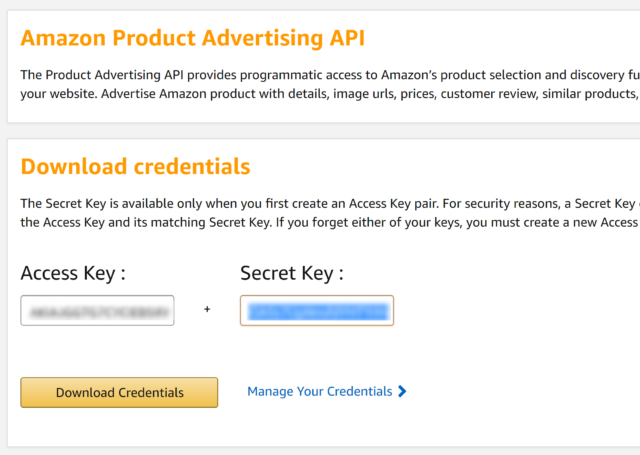
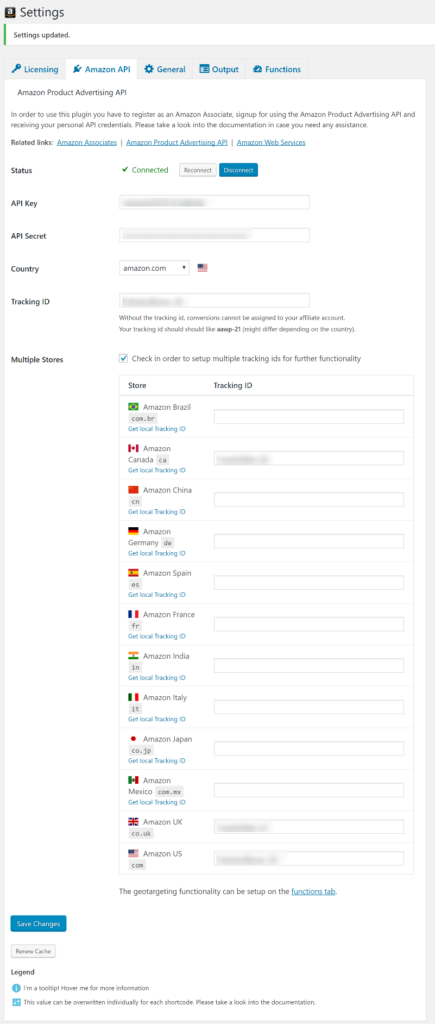
The last part of this step is to enter that API information, along with my Associate IDs for the various international programs that I'm registered with, into my AAWP plugin, which ends up looking something like this.
Step #4) Configure the plugin's General settings
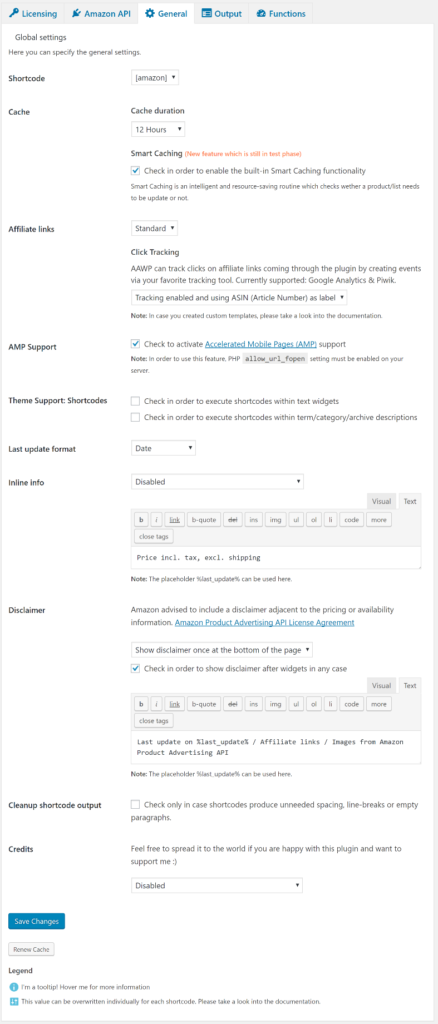
I might change these options over time as I start using the plugin, but here's what the settings look like, and how I initially set them up.
Step #5) Configure the plugin's Output settings
These I also will probably reconfigure after I get started with the plugin, but here's how I'm starting and what the Output settings page looks like.

Step #6) Configure the plugin's Functions settings
Same disclaimer as my previous steps is that I'll probably change this as I get working with the plugin, but here are the current options. It's where I turned on the Globalization feature. Currently I'm using Amazon's OneLink but will probably disable that if this works for that feature instead.

And that ends the setup process. The next step is creating tables and product listing boxes and inserting them into posts, but I'm not ready for that yet. When I am at that step in the process, I may create a separate post about how it works. And if so, I will link to it here.
In the meantime, that's the setup process for Amazon Affiliate for WordPress.


Hi! I have some doubts. I wanted to try OneLink but my question is… How does Onelink really work, I have to use the .com links then, or it can also work if I have an Amazon.de link and a US visitor comes in, it will take him to amazon.com?
Thanks!
Thanks for sharing such a useful article for other online marketers, I also bought mine a few weeks ago but haven’t got the time to set it up. I’ll try to share some screenshot once I’m done.